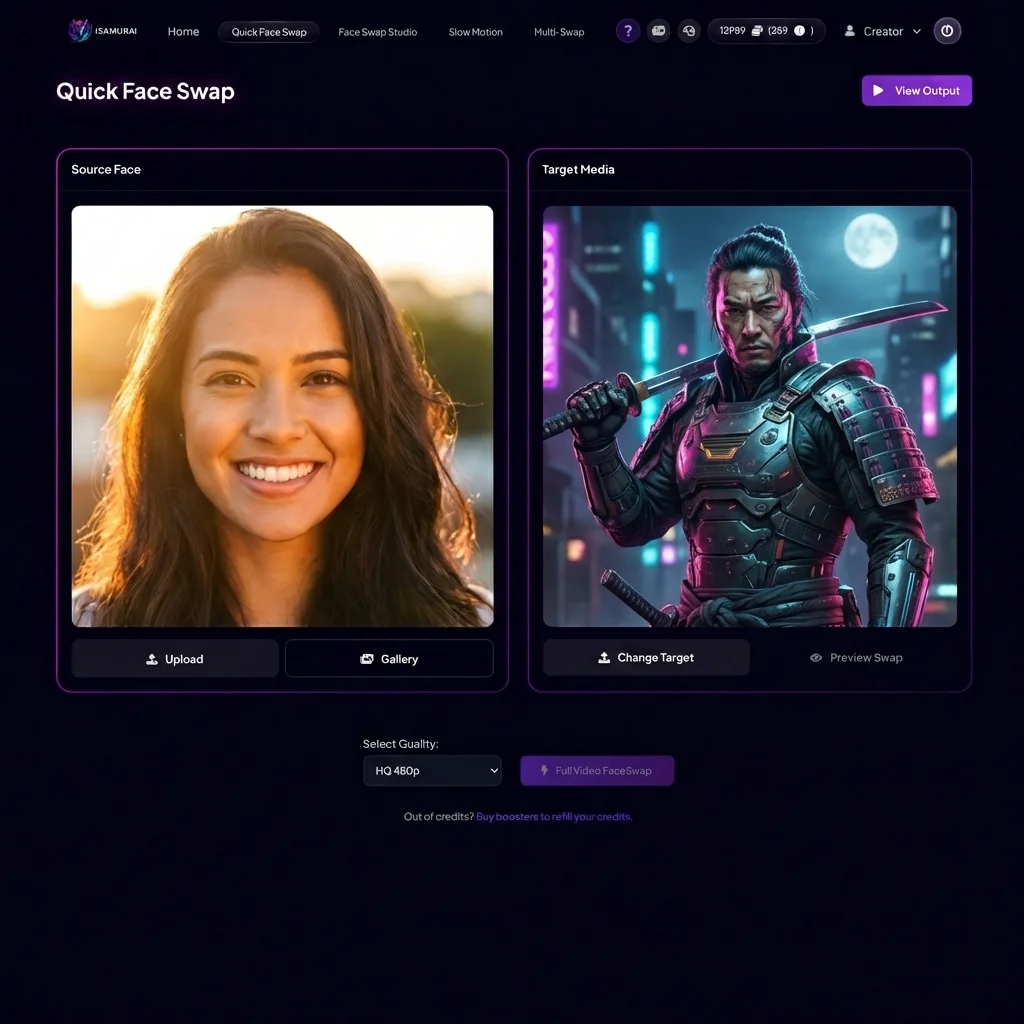
The Quick Face Swap tool is your express lane to swapping a single face in any image or video. Designed for speed and simplicity, it takes one “Identity” (Source) and applies it to one “Scene” (Target). Perfect for memes, profile pictures, and quick revisions.
Table of Contents
- 🖥️ Interface Overview
- 1. Source Face (Left Panel)
- 2. Target Media (Right Panel)
- 3. Controls
- 🚀 Step-by-Step Tutorial
- Step 1: Upload Your Source Identity
- Step 2: Choose Your Target Scene
- Step 3: Preview & Process
- Step 4: The Result
- ❓ Common Questions
- Q: Can I swap multiple people with this tool?
- Q: Why is my video taking long to process?
- Q: Are my uploaded images saved?
- Comparison: When to use what?
🖥️ Interface Overview
Before you start, here is a quick tour of the dashboard:
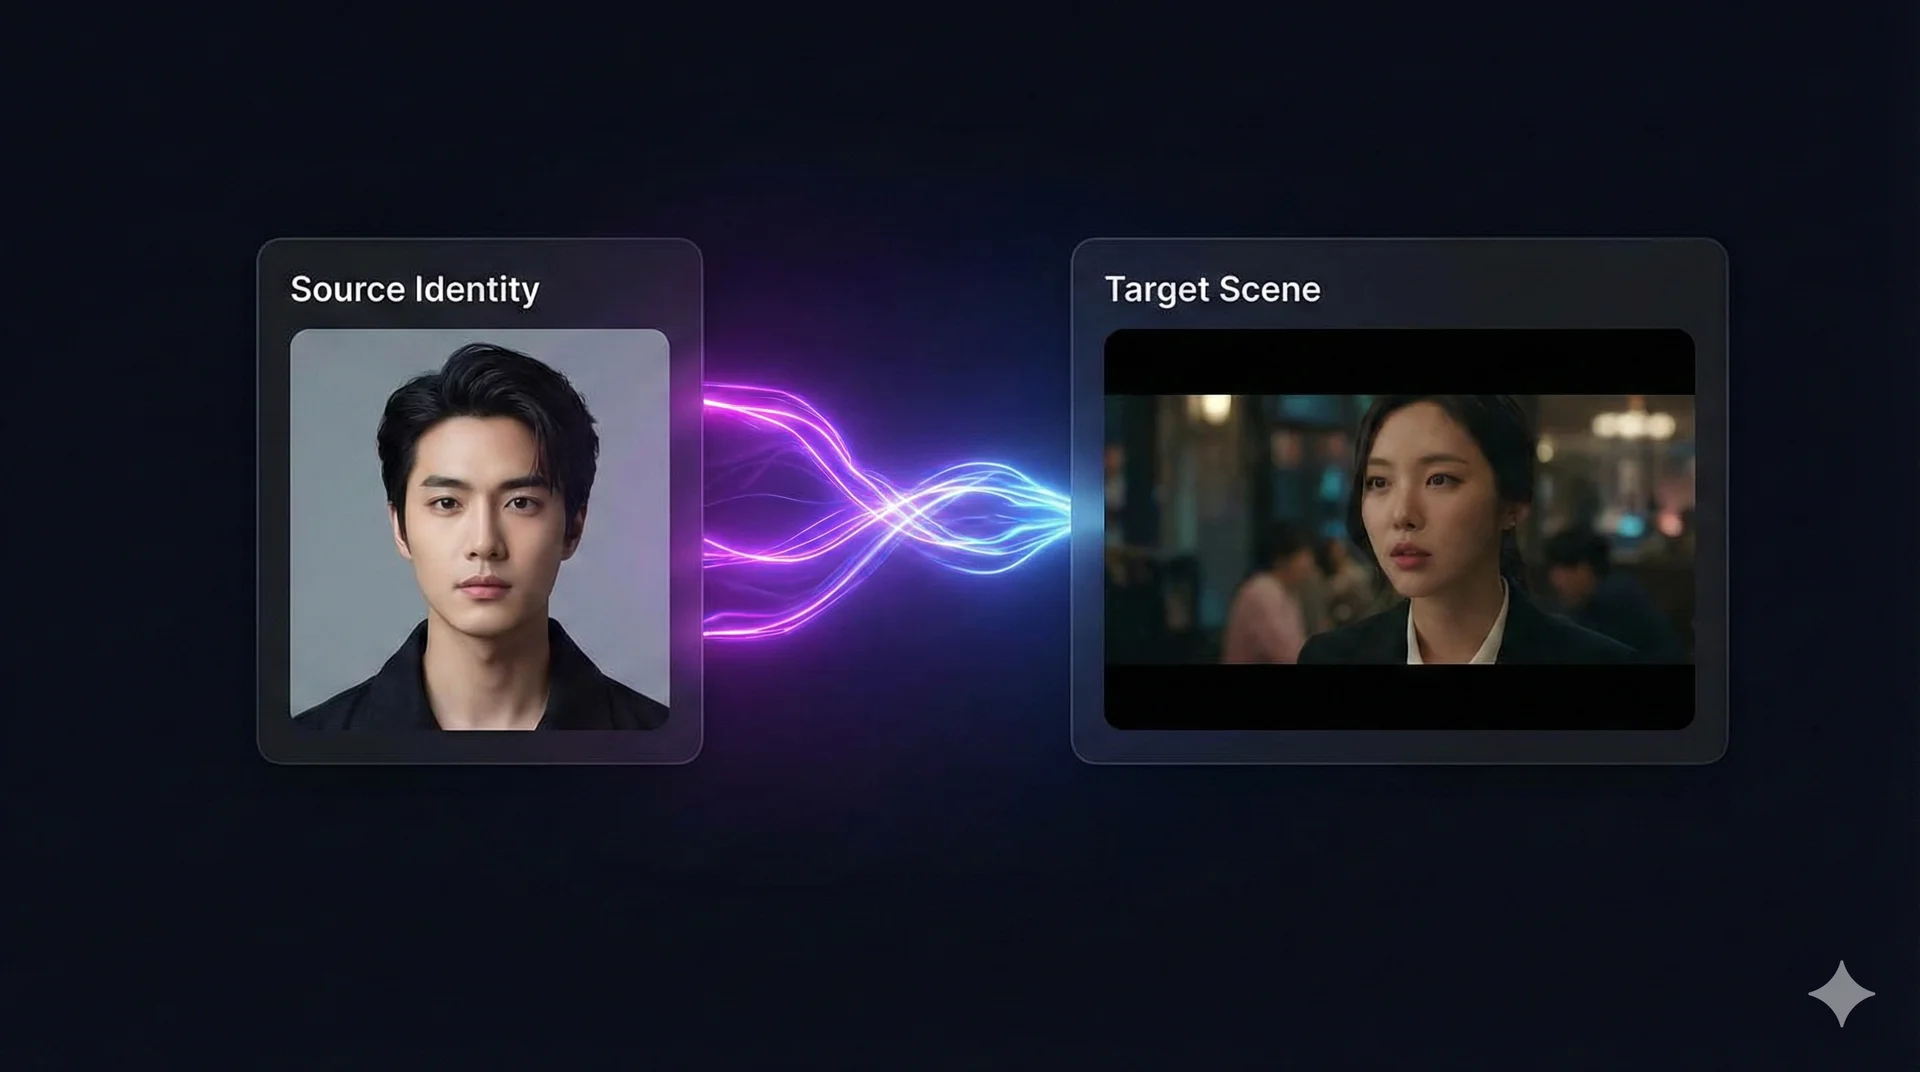
1. Source Face (Left Panel)
This is the face you want to use. You can Upload a new photo or select one from your Gallery if you’ve used it before.
2. Target Media (Right Panel)
This is the image or video where the face will appear. iSamurai supports standard image formats (JPG, PNG) and popular video formats (MP4, MOV, MKV).
3. Controls
Use the Quality Selector to switch between SD (fastest, good for mobile), HD, or Full HD (professional quality). The Clear Session button resets both panels.
🚀 Step-by-Step Tutorial
Step 1: Upload Your Source Identity
The Source Face is the face you want to use (the “who”). Click the Upload button in the left panel and select a clear, front-facing photo.
Pro Tip: Avoid photos with heavy shadows, hair covering the eyes, or extreme angles. High-quality sources act like high-quality blueprints for the AI.

The interface with a high-quality Source Face ready to go.
Step 2: Choose Your Target Scene
The Target Media is the image or video where the face will appear (the “where”). Click Change Target in the right panel and upload your file.
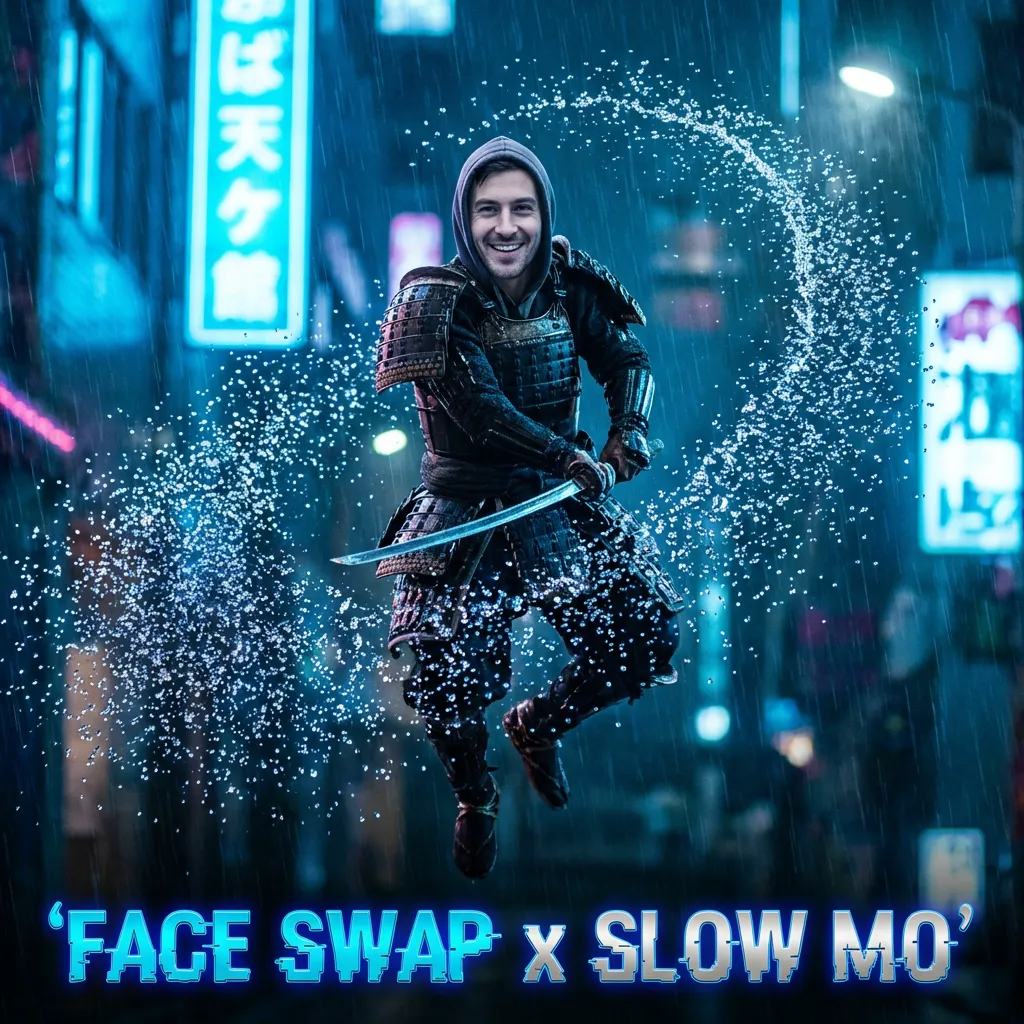
Note: The swap shown here is an illustration to demonstrate the workflow. Actual results will vary based on face angles and lighting.
Step 3: Preview & Process
Before committing to a full video render, it’s smart to check your settings. Use Preview Swap to see a single-frame preview. Then select your quality (SD, HD, or Full HD) and click Full Video FaceSwap.
Step 4: The Result
When processing is complete, your output will appear automatically. You can download it or save it to your Gallery.
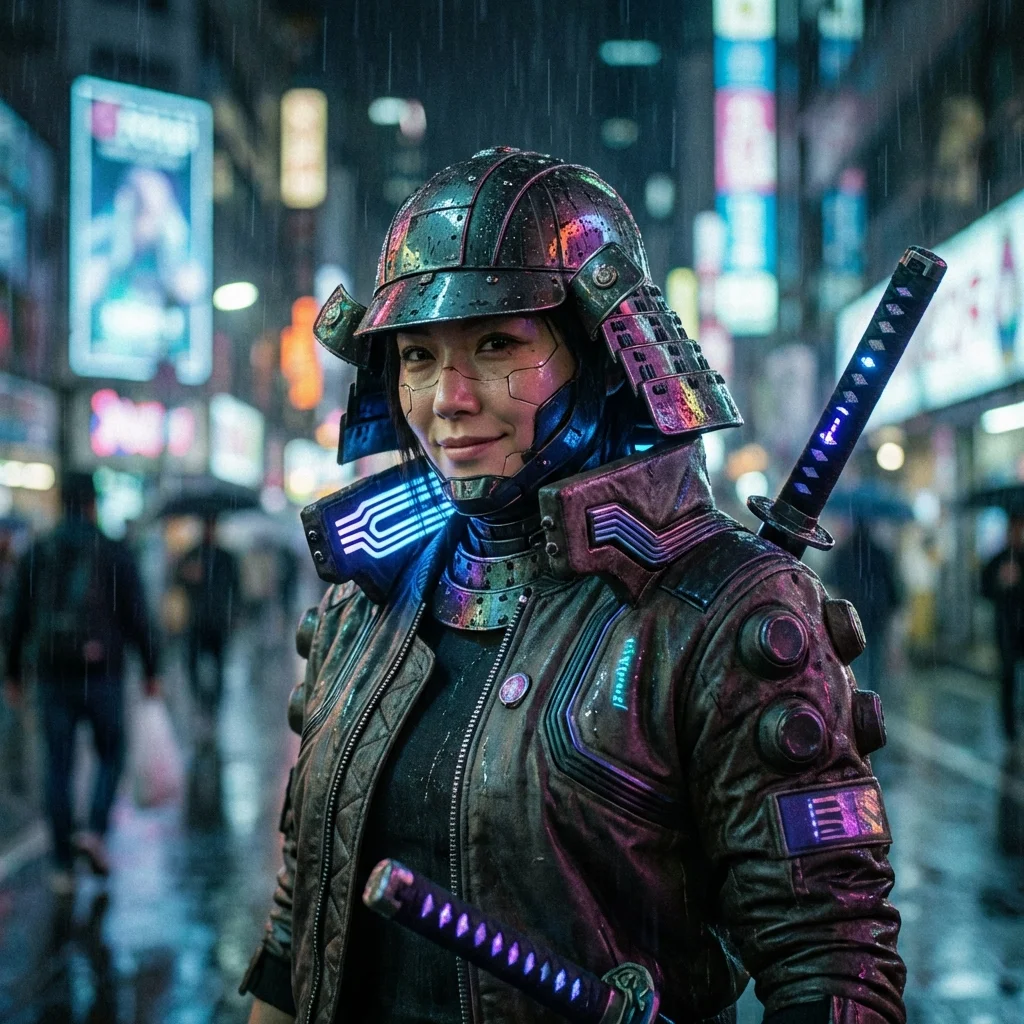
IMPORTANT DISCLAIMER: This image is an artistic illustration created to demonstrate the face swap concept. It was NOT generated by iSamurai.
❓ Common Questions
Q: Can I swap multiple people with this tool?
A: No, Quick Face Swap only swaps the most prominent face found in the image. For groups, use our Multi Face Swap tool.
Q: Why is my video taking long to process?
A: Higher resolutions (1080p) and longer video durations require significantly more AI processing power.
Q: Are my uploaded images saved?
A: Source faces are saved to your private gallery for convenience so you can reuse them. Processed videos are available for download for a limited time.
Comparison: When to use what?
- Quick Face Swap: Single-person photos, memes, quick tests. Fastest results.
- Multi Face Swap: Group photos, wedding parties, or scenes with multiple characters.
- Face Swap Studio: Complex video editing, precise timeline control, and swapping multiple different faces in one clip.
Related Tutorials & Features
- Start swapping faces: Try iSamurai Face Swap
- Need more control? Try Studio PRO: Face Swap Studio PRO Guide