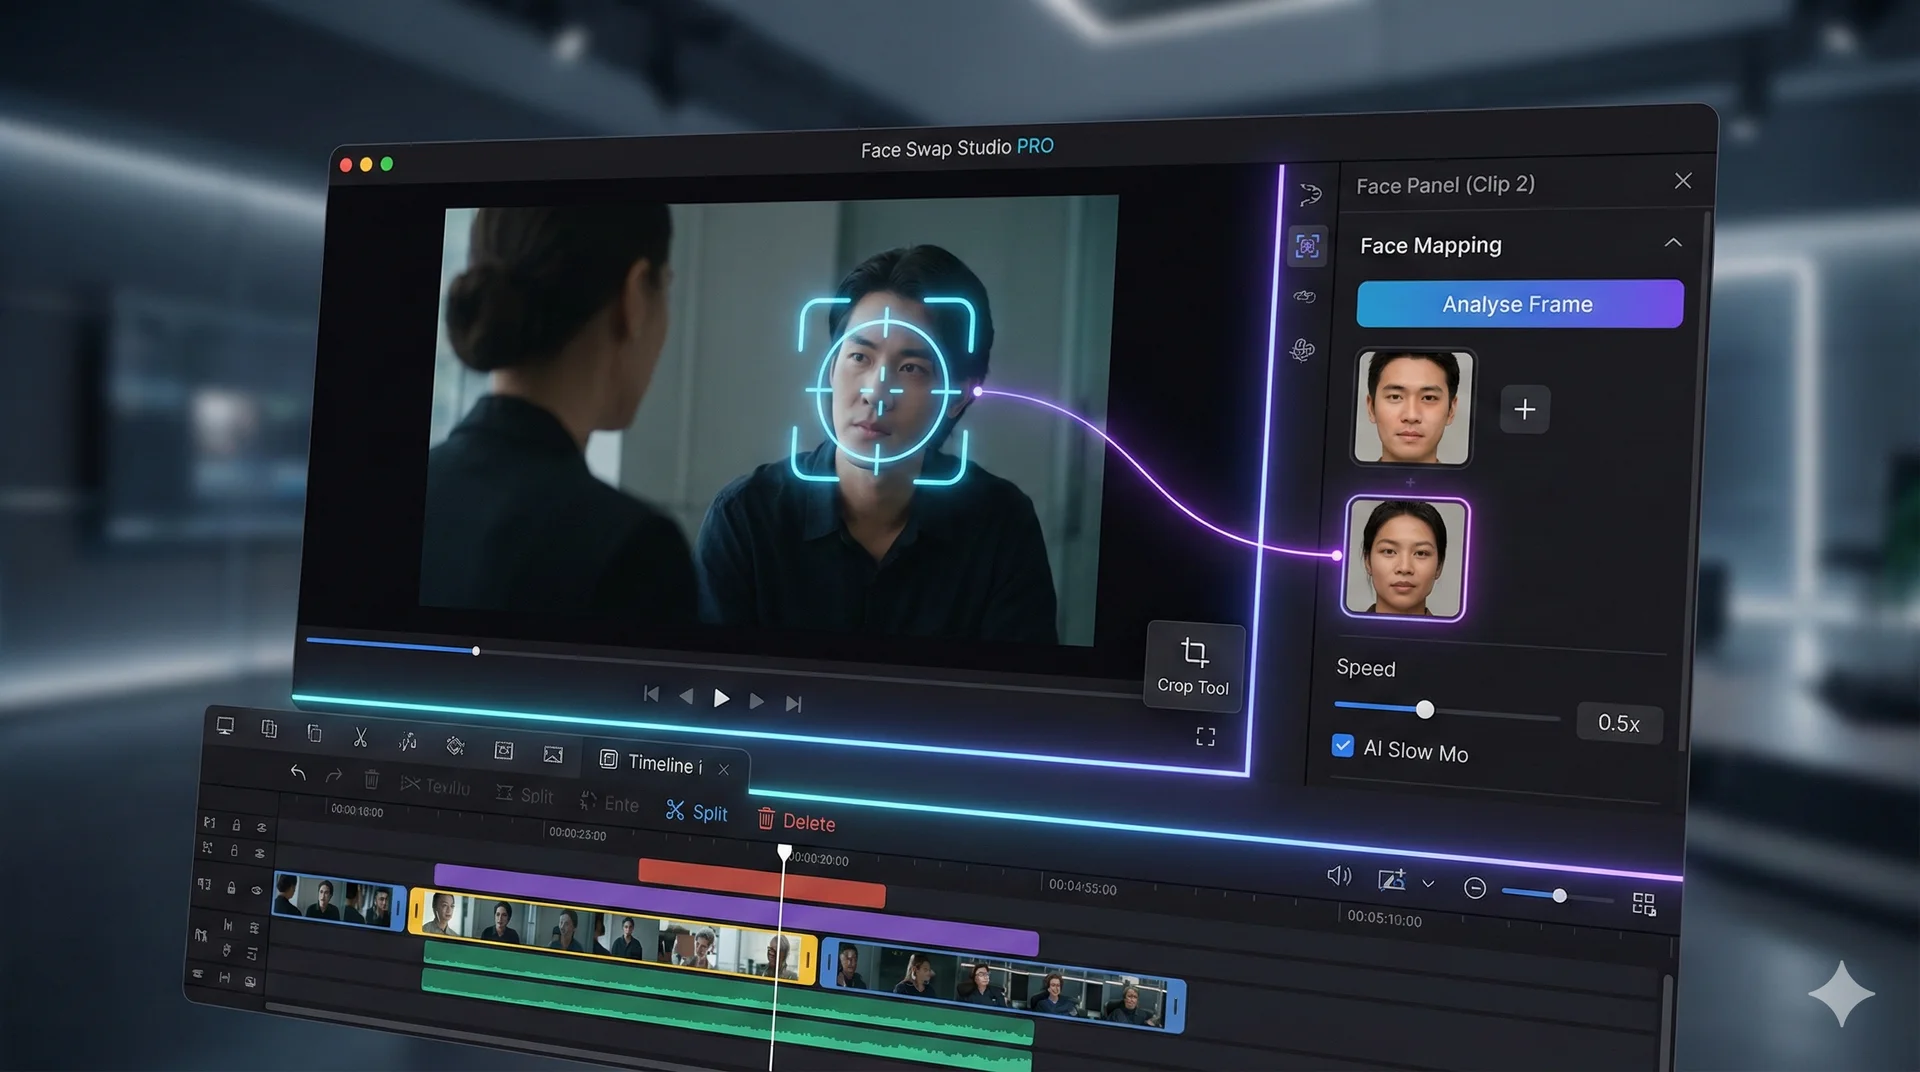
Face Swap Studio PRO is a professional timeline editor for your browser. It allows you to combine multiple videos, edit them, and apply face swaps to specific parts of your video.
Key Features:
* Timeline Editor: Cut, trim, and arrange multiple clips.
* Dynamic Swapping: Swap different faces in different scenes of the same video.
* Visual Tools: Crop, rotate, and mirror clips.
* AI Slow Motion: Generate smooth slow-motion effects.
Table of Contents
🖥️ Interface Tour
1. The Canvas (Center)
This is your preview screen. It shows the video at the current timeline position. You can use the Crop Tool here to resize your video for different platforms (e.g., TikTok vs YouTube).
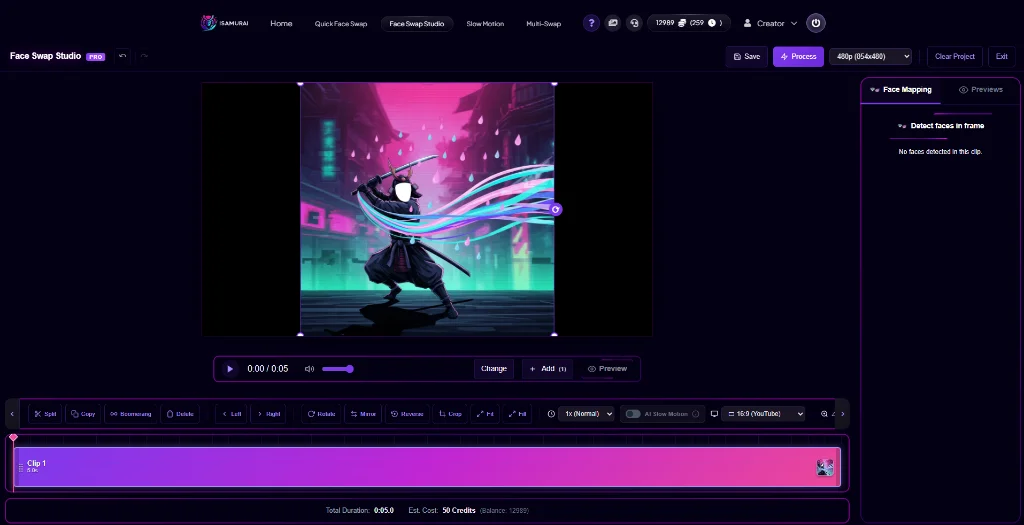
The main canvas where you upload and preview your edits.
2. The Timeline (Bottom)
This is where you build your story.
* Segments: Your video is divided into “clips”. You can click a clip to edit its specific settings.
* Tools: Split (Scissors), Delete (Trash), and Boomerang (Loop icon).

The timeline toolbar with precision tools for splitting and arranging clips.
3. Face Panel (Right Sidebar)
This is where you control the face swaps. It is Context Aware, meaning it shows settings for the currently selected clip.
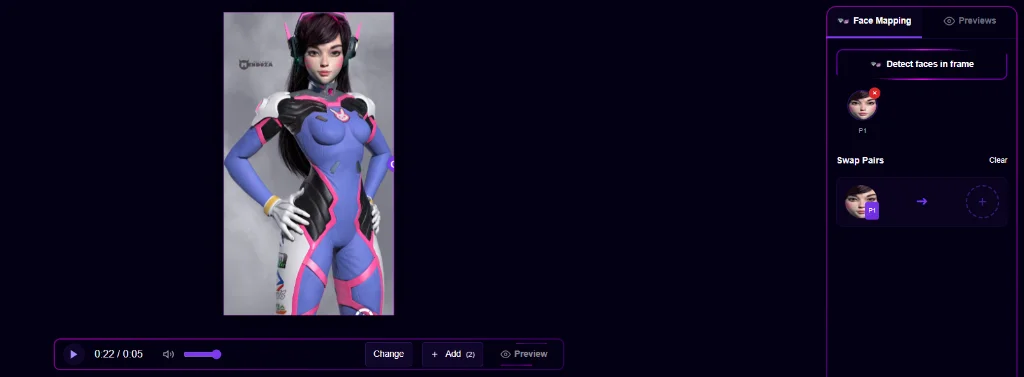
The context-aware sidebar for detecting and mapping faces.
🚀 Step-by-Step Workflow
Phase 1: Import & Arrange
- Upload: Click the upload button to add one or more videos.
- Order: Drag clips in the timeline to rearrange them.
- Trim: Use the Split (S) tool to cut out unwanted parts, then Delete them.
Phase 2: Visual Edits
- Crop: Want a vertical video? Click the Crop icon and drag the handles.
- Slow Mo: Select a clip, change Speed to
0.5x, and check “AI Slow Mo” for professional smooth motion.
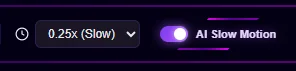
Enable AI Slow Motion for smooth results even at low speeds.
Phase 3: Face Mapping
This is the most important part. You can set different faces for different clips!
- Select a Clip in the timeline.
- Click Analyse Frame in the right sidebar.
- The AI will find faces in that specific clip.
- Assign Source: Click the “+” box next to a detected face to choose who they become.
- Repeat this for other clips as needed.
Phase 4: Export
- Check the Est. Cost indicator.
- Choose your Resolution (up to 1080p).
- Click Process to render the full project.
- Once finished, click View Output to download.
⚡ Pro Tips
The Boomerang Effect:
Select a clip and click the Boomerang icon. The studio will automatically create a “Forward -> Reverse -> Forward” loop, perfect for social media.
Undo/Redo:
Made a mistake? Press Ctrl + Z to undo your last change.
Related Tutorials & Features
- Start swapping faces: Try iSamurai Face Swap
- Understand how we protect your data: Data Privacy & Security Guide